DIY Protective Box – Cheap, Easy, and Portable
To protect ourselves from dust when we sand or use the rotary tool we need to wear both a protective mask and goggles. However, most of the time the goggles fog up and we can’t see what we are doing. Here is an easy way to make an acrylic box that will protect your nose, mouth and eyes.
What you need:
- Two acrylic sheets, any size you wish. Mine cost a total of $3.
- Drill bit
- Painter’s tape, duct tape or gaffer tape
- Cord
Instructions:
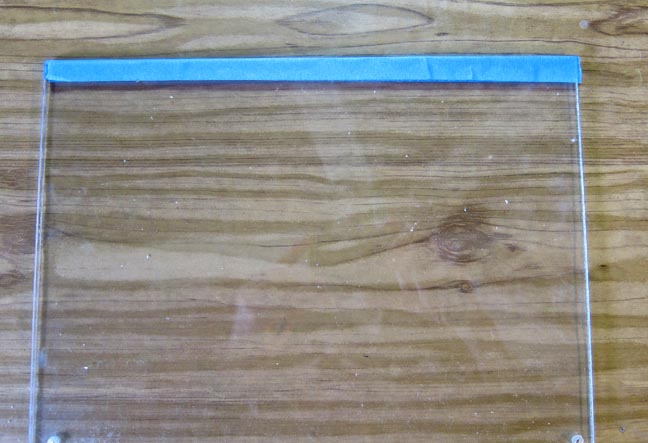
Tape the two sheets together so they completely overlap.

Drill a hole on the bottom right and bottom left of the two boards.

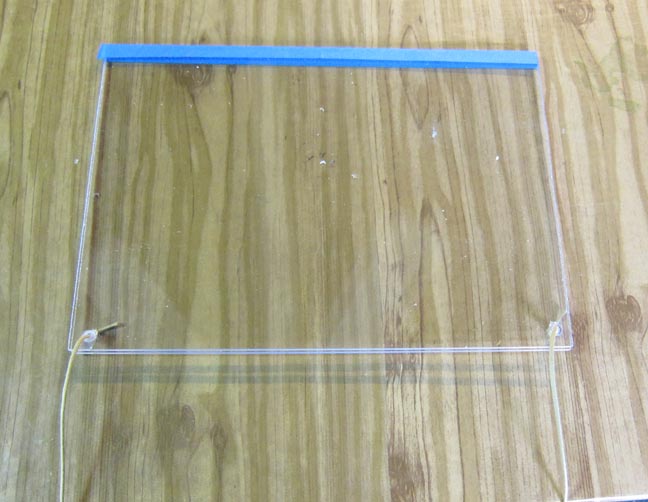
Make the two sheets into a folder by taping them together at the top.

(The following idea came from my husband, Avi): Cut 2 pieces of cord and tie a knot at the end of each.

Close the folder and insert each cord through the holes of both sheets.

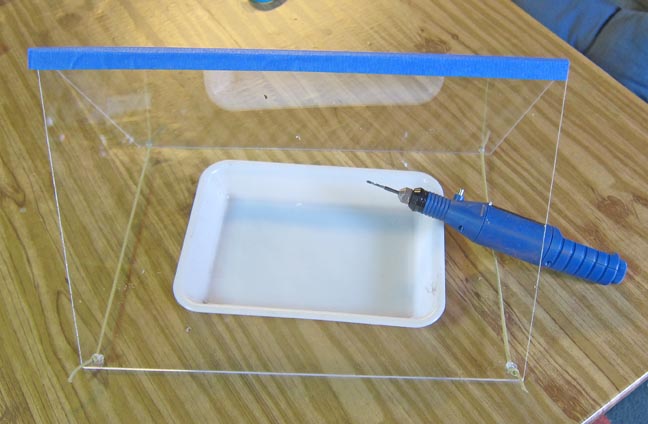
Open the folder and position it on the table. Insert your hands through the sides of the folder to determine how wide the opening should be.

Tie another knot at the end of each cord.

The box is ready to use.
Fold the box and take it with you to class.
March 7th, 2016 at 4:46 pm
Brilliant idea! Thank you Hadar and Avi!
March 8th, 2016 at 1:54 pm
I love it! These are also inexpensive enough and portable enough to have one available for each student when teaching a class. I incorporate a lot of safety training into my classes. This will definitely be included and I’ll be sure to give ya’ll the credit 😉 Thanks Hadar and Avi!
March 13th, 2016 at 1:19 pm
That is pretty darn clever of you two! Thank you for posting this!
March 20th, 2016 at 2:57 pm
Thank you! Thank you! I hate the mask and goggles!
Wondeful idea!