Hadar’s Molds – Exploring the Donut
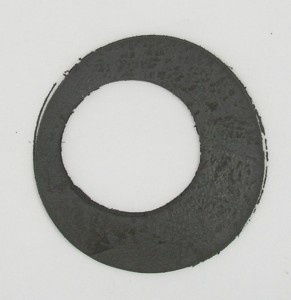
This posting is a bit long, but covers quite a few possibilities.There is so much that can be done with a simple donut shape. The simpler type starts with a circle cut from a layer of clay, and another, smaller circle cut inside the first circle.
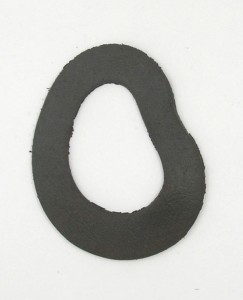
From this point on, you can change the shape of the donut just with a slight touch of your finger. You can elongate it:
Or you can dent it:
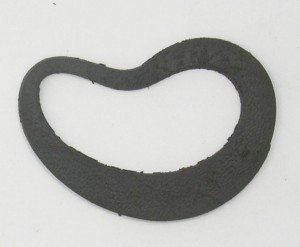
You can also cut the smaller circle off center:
With gentle manipulation of the shape the donut turns into a bean.
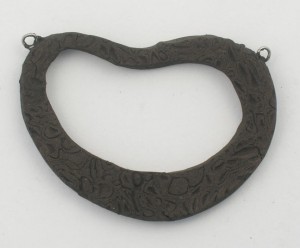
Here it’s done with a texturing mold. I used Mokume-Gane 9. I took a big chunk of clay and pressed it into the mold. I did not mind having it very thick, since fired steel clay is so light-weight.
While the bean was still wet, I inserted eyelets on both sides. If you use Low Shrinkage Steel XT, use nickel chromium wire (also called “high temp wire” or “nichrome”) to make the eyelets. This wire is available from PMC Connection
Instructions for making the eyelets can be found in my book The Handbook of Metal Clay: Textures and Forms, second edition, p. 45.
Firing
Low-Shrinkage Steel XT is best suited for structural purposes and the easiest clay to fire. Just cover with carbon and fire 2 hours at 1750°F/955°C (brick kiln); 1830°F/999°C (muffle kiln). If you happen to have the Mini 1800 just set it to the highest setting and come back after 2 hours. One phase firing.
A Clasp
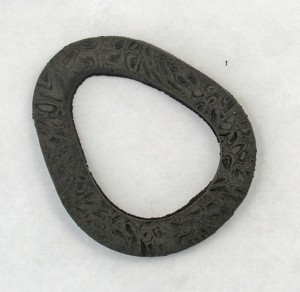
A toggle clasp is also a donut of sorts. Using the same texture, I started with a circular donut.
Then changed the shape with my fingers and dried.
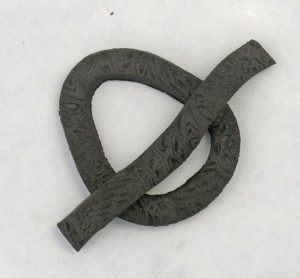
The toggle bar needs to stick out of the donut about a quarter inch to each side. What if the texturing mold is not long enough?
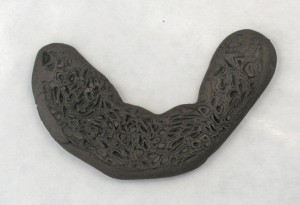
Roll a fat snake, bend it into a half circle, and press it into the mold.
Remove the snake from the mold.
Gently straighten it out.
Then cut to size.
Lay the bar on top of the donut to dry. Let the middle part slump inside the donut.
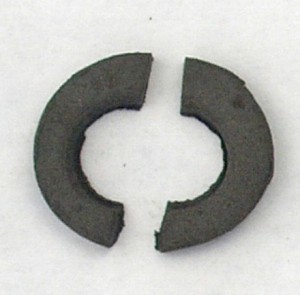
Now make another donut, 6 cards thick, with very small circles (for example, use two straws of different sizes). Let’s call it a washer.
Cut the washer in half and dry.
Attach one half washer to the top left of the donut, and the other to the center back of the bar.
Fire as described above.
Have the patience for one more? This is going to be a long weekend.
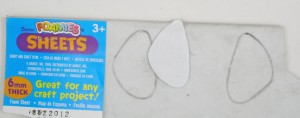
I wanted to use the same shape as the toggle’s, but as a frame, not flat. For this I had to make a template and use 6 mm thick foam sheet, preferably white, which you can get at Michael’s and JoAnn Fabrics (Foamies).
A variety of lovely shapes can be found on the first four templates at PMC Connection.
Cut the template on top of the foam and trace it with a pencil.
If you want to make earrings, turn the template over and trace it again to make the mirror image. If you choose to use a plastic template, turn it over and trace the inside contour line.
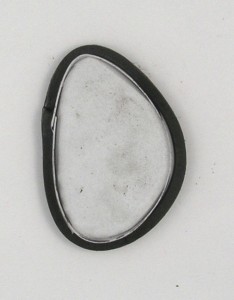
Cut the shapes out of the foam with scissors. To make it into a clean shape, I like to cut a 6 mm strip out of a postcard, wrap it around the foam, and tape.
Cut a strip of clay 6 cards thick, 6 mm wide, and wrap it around the foam shape. This is the frame.
Once dry, seal the joint if necessary, and dry again.
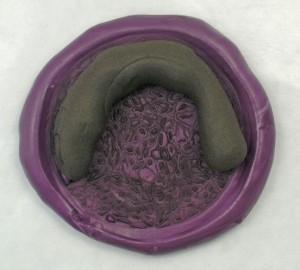
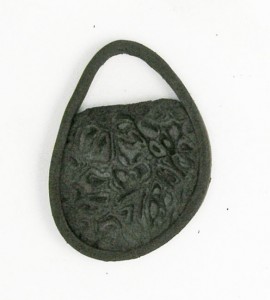
Place the frame on top of the texturing mold. Wet the inside of the frame, and press a chunk of clay into it, filling about half of the space inside the frame.
Remove from the mold.
With a knife, cut the top part on the inlaid chunk to a shape that pleases your eye.
After drying, turn the piece over and add more clay until the back is flush and the joints disappear. Dry and fire as described above.














October 3rd, 2013 at 9:00 am
Love it! Thank you!
October 3rd, 2013 at 9:06 am
Beautiful earrings, and not overly complicated to construct. Thanks
October 3rd, 2013 at 9:16 am
fabulous!
October 3rd, 2013 at 9:19 am
Awesome! So many ideas running through my head right now. Thank you for all you do! Just love it!
October 3rd, 2013 at 11:42 am
I love this dynamic blog site! An endless source of inspiration for a tired old woman. I really want to try and make the mokume gane.
October 3rd, 2013 at 11:45 am
Hadar,
Lovely earrings!! I hadn’t thought of Foamies for a pattern. I have used Scatch Foam for a pattern to make a reverse design for an earring. The foam is stiff enough to also carve designs into. Shrinky Dinks is a good material to use to make your designs 1/2 their orginial size.
October 3rd, 2013 at 4:51 pm
Thanks for the detailed instructions. I love the fact that you covered design and construction. The toggle problem solving is great too.
October 3rd, 2013 at 7:40 pm
These are great ideas which are easy but sophisticated too.
Thanks for sharing your insights so freely.
October 4th, 2013 at 10:03 am
I love these! Thank you for the design ideas, directions and tips!
October 4th, 2013 at 4:27 pm
I love all of the possibilities. Thank you, Hadar for another great project idea.
October 4th, 2013 at 6:33 pm
Love it thanks Hadar
October 5th, 2013 at 1:37 pm
Thanks for the great project. The nice thing about the molds is you get the look of smush Gane without the extruding and having to add a backing. I especially like the toggle and the earings.
Warmest Regards,
Cindy Pope
October 27th, 2013 at 6:34 am
Thank you.