May
6
2019
The dates for the 2020 5-day workshops are January 4 and January 11. If necessary, another date will be added in February. You can sign up here.
The main topic is locket pendants – different mechanisms for constructing a box with a locking lid. Here are a few samples:

Drawer locket – closed

Drawer locket – open

Invisible hinge

Sliding lid – closed

Sliding lid – open

Swivel lid – closed

Swivel lid – open

No-hinge – closed

No hinge – open

Dome – closed

Dome – open
There are other fun lockets, including one with a magnet (picture is not available yet). The mokume-gane decoration is only optional – feel free to decorate your locket in any way you like.
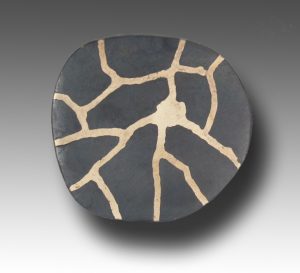
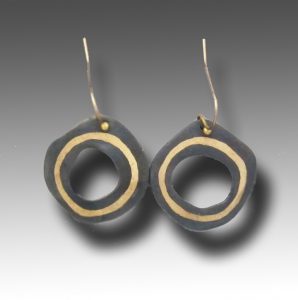
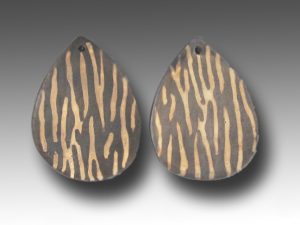
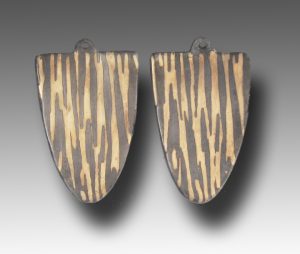
Of course, there will not be enough time to make all these types of lockets. However, I prepared “in-between” projects to make while you are waiting for pieces to dry or fire. These projects involve combining steel and Brilliant Bronze for a color effect of black and gold. Steel and Brilliant Bronze cannot be fired together because of the difference in their firing temperatures. The projects will introduce a few techniques of making steel-dominant and bronze-dominant pieces. Again, here are a few samples:


Comments Off on January 2020 Intensives
Mar
25
2019
Recently I have been getting a lot of questions about firing different clays together. For your convenience, I have prepared a compatibility chart which shows possible combinations of One-fire clays and their firing schedules.
You can also access this document by clicking on “Compatibility of Hadar’s Metal Clays” in the right-hand pane of this blog.
Please let me know if you have questions about this chart or about other combinations.
Comments Off on Compatibility of Hadar’s Metal Clays
Sep
11
2018
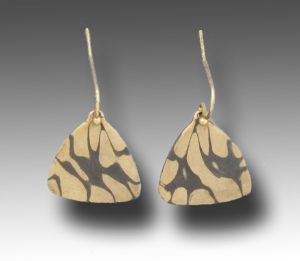
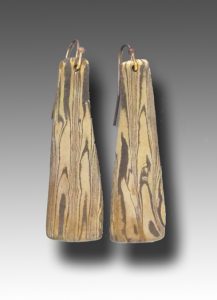
On October 20, 2018 (Saturday, 1 p.m. Eastern Time) I’ll be giving a webinar with Alison Lee on Craftcast. I will be teaching how to make earrings with patterns of color (mokume gane) using three types of metal clay.

The class will also show:
- How to mix the clay
- How to use an extruder
- How to make your own discs for the extruder
- How to load and program the kiln
- How to finish the earrings after firing
- How to use a slotted/split mandrel
The class also includes two documents that I have prepared: one is a collection of questions and answers about patterns of color, and the other illustrates what goes on inside the extruder.
To sign up for the class please click here.
For beginners who want some preparation before the class I’ll be teaching an introduction workshop at Abrams Claghorn Gallery in Albany, CA on October 6 and 13. For more information on this workshop please click here.
Comments Off on Save the Date
Aug
15
2018
This post is intended for people who enamel or wish to enamel on metal clay.
Bronze is considered hard to enamel. One thing that happens repeatedly, for example, is that the enamel flakes off. This can happen right away (which can be dangerous if you are enameling with a torch), or it can happen over time. The enamel on the piece in the photo below flaked off over a period of a few months. Every once in a while I saw that another piece was missing.

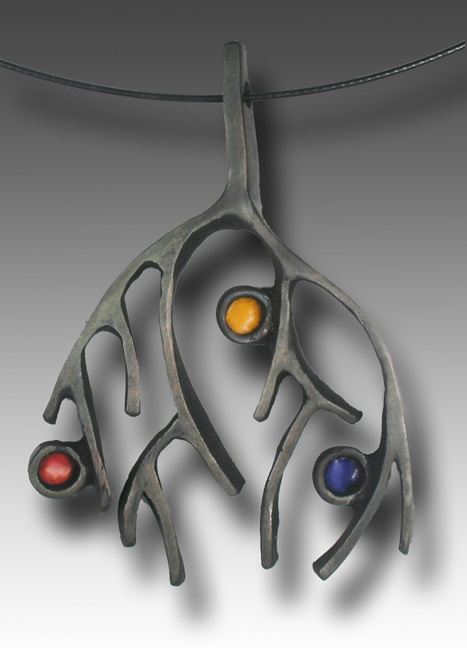
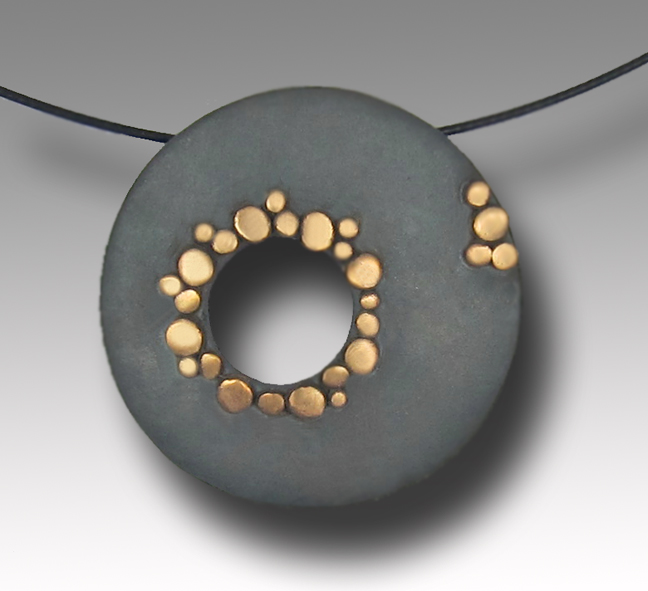
However, there is one condition under which the enamel stays on: the enamel needs to be enclosed in a recessed area. In the photo below, for example, you can see high areas and low areas. The low areas are closed on all sides.

In the low areas it is safe to enamel without the risk of the enamel flaking off.

Here are a few more examples. In all of them I used One-fire Brilliant Bronze.


How do we do this? One way is to build a second layer, with cutouts, on top of a backing layer. I find it easier to start with a 6- or 8-card layer, dry it, and then carve out the recessed parts with a diamond burr, taking out a thickness of about 2 cards. (All of the carved-out clay can be re-used, of course).

Draw the picture

Carve out the unmarked areas
Copper and steel clay can be enameled with or without recessed areas. Here are a few examples:

Copper

Copper

Low-shrinkage Steel XT

Low-shrinkage Steel XT
14 comments
Jul
19
2017
Five new original templates are now available on my online store. All are 6″ x 4″, clear, and coated with a protective film. Most of them are free-form, and can be used for making pendants, earrings, and bracelet links.
Here they are:

Template #1

Template #2

Template #3

Template #4

Template #5
Comments Off on New Templates are Now Available!
Jul
9
2017
In a couple of weeks, a new line of plastic templates for metal clay will be available on my store. The initial release will consist of five templates. I designed these for my upcoming enameling workshops, but they can be used for any other application. In designing them I had in mind free forms for pendants and earrings, which don’t seem to be widely available. Here are renderings of the templates:


1 comment
Mar
9
2017
This is a 5-day intensive taking place at my studio in Berkeley, California, on May 19-23, 2017. Please sign up here.
This workshop will cover coloring metal clay by hot-bluing, patina, acrylics, colored pencils, felt, and chip inlay.
Here are a few class samples:
Hot-bluing
Hot-bluing

Patina
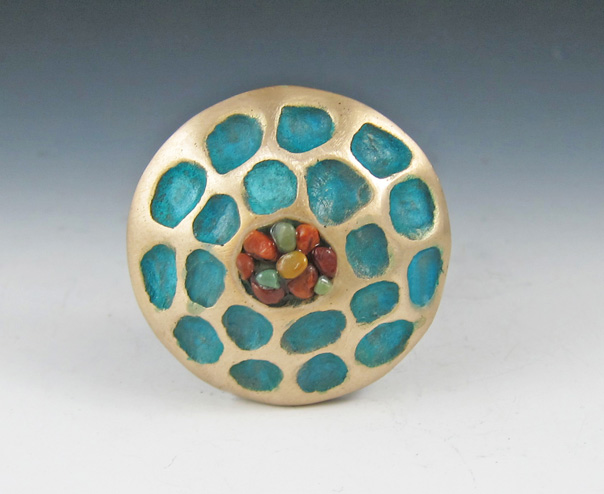
Patina and rock inlay
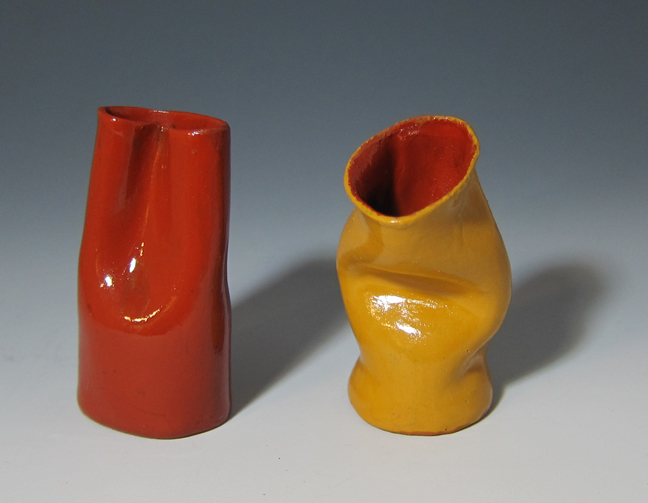
Acrylics

Acrylics

Colored pencils

Colored pencils
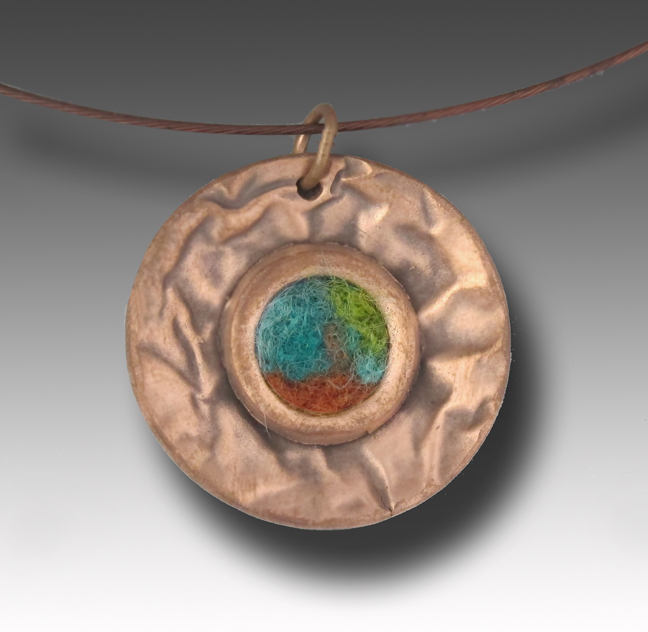
Felt


Rock inlay
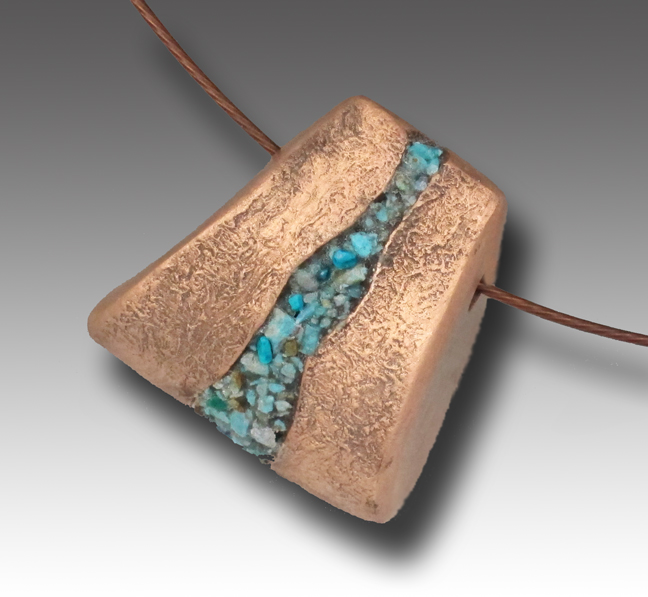
Chip inlay
Comments Off on Workshop: Color on Metal Clay
Sep
15
2016
The second, revised and expanded edition of my book Mixed Metal Jewelry from metal Clay is now available in the form of a CD.

The first edition was published in 2009 and went out of print about a year ago. The second edition is up-to-date with the developments that have occurred in the metal clay field since the publication of the first edition.
The first part of the book covers the possible combinations of copper and bronze. This is a good reference for anyone who would like to start making mixed metal jewelry. There is also a discussion on the concept of married metals, and an overview of other possible combinations of clays in a married metal design.
The second part covers the combination of copper and silver and discusses the issues of firing these clays together. Two projects introduce the technique of mokume-gane in copper and silver. As it turns out, most projects can be done with White Bronze instead of silver, without compromising the look and strength of the pieces.
The third part includes projects which combine copper, bronze, and silver as components. It covers textures, forms, movement, and mechanisms.
Besides the project samples, the book includes over a hundred photos contributed to the second edition by metal clay artists. Thank you all for your wonderful work. The book would not be complete without you.
Comments Off on Mixed Metal Jewelry from Metal Clay – Second (Revised) Edition
Jun
14
2016
Two of my books, The Handbook of Metal Clay: Textures and Forms and Movements and mechanisms in Metal Clay, are already on their second edition. (The Handbook of Metal Clay is actually on its third edition, in the form of a CD.)
It’s now time for a second edition of my third book: Mixed Metal Jewelry from Metal Clay, which went out of print quite a few months ago. The new edition will come as a CD and is planned to be published around the end of this summer.
Those of you who have the first edition, and those of you who haven’t but have pieces of mixed metal to show, are invited to submit photos for the new edition. Any combination of metals is accepted, including silver and base metals, even pieces that only have separate components made of different metals. All brands are welcome.
The requirements:
- The photos should be high resolution, at least 4″x4″, 300dpi.
- Deadline: Please submit the photos as soon as possible, or no later than August 15, to my email address: hadarjacobson@gmail.com.
- For credit purposes, include your name, photo title, and the name of the photographer, if applicable.
I look forward to seeing your creations!
Comments Off on Call for Entries


